As mentioned in the previous posting, this is more like a progress report rather than a complete review. I'm usually very lo-so (that's long-winded in Chinese :-) in reviewing a completed model, so splitting the review into different parts for a more complex model, like the one I'm working on at the moment, MG Gundam Ver. OYW is quite in place I believe.
If you like, you might as well call this kit as Gundam Ver. 2.0, since Ver. 1.5 improved only the legs, head and partially on the chest and the weapons. Ver. 2.0 however, takes away the Core Fighter transformation, and redesigned all the parts missed out in Ver. 1.5. That means except for the inner frame of the legs and the Gundam Hammer, all the other parts are new.
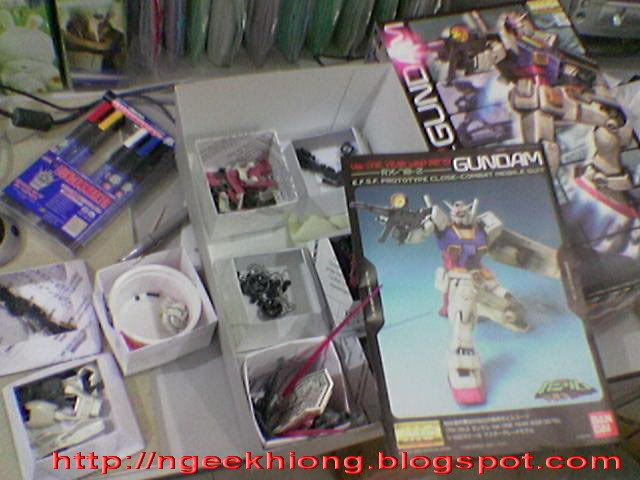
As with HGUC Advanced Hazel, I separated the different components of the model and put them into little paper boxes, which are DIY origami work you can learn from Origami-Instructions.com :-D
I also use tiny KFC containers for take-away mashed potato or salad (of course washed and cleaned ones) for that purpose :)
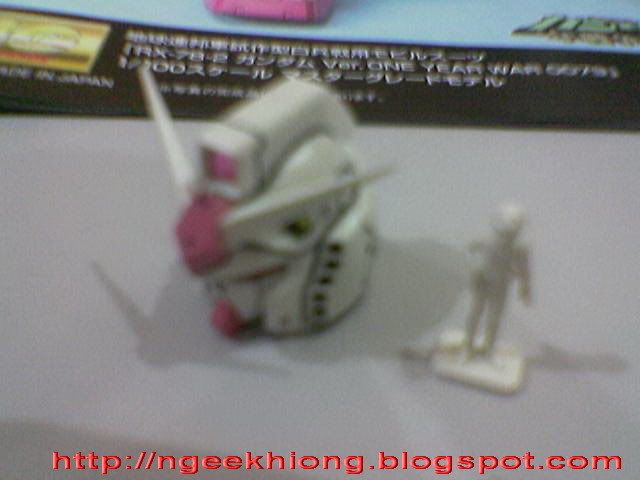
The head is the only component completed so far, and the unpainted figure of Amuro Ray is standing next to it. It's a good thing that Bandai threw in the base for the figure so that it can be posed with greater ease.
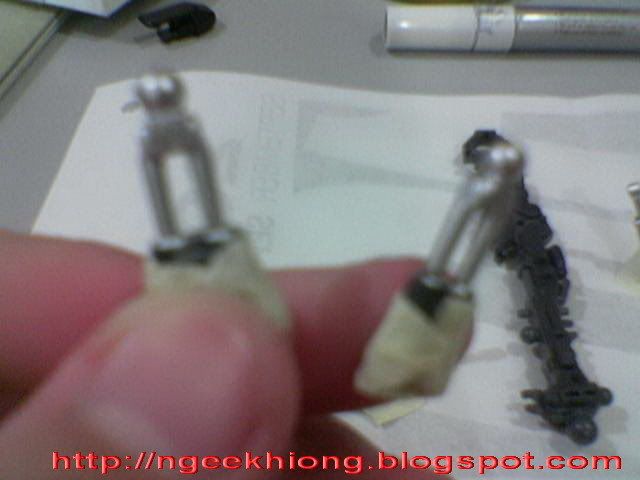
There's quite a lot of work for panel-lining the parts for this kit actually, and most of them are really giving me a hard time ^^; For the legs, the inner frame are harder to paint than I initially thought. This is the first time I use paint on the legs actually, since I omitted it in my Ver. 1.5. I was too timid back then to tear out the parts to paint ^^; The hydraulic pipes in particular, are molded together with their hosts so that they slide together. Good idea by the designer, but impossible to separate to paint them separately. So this is how I did it:

Firstly, detach the hydraulic pipes (along with their hosts) at the joints.

Then use marking tape to cover the hosts, and paint the pipes in silver.
Shiny :-D Don't forget which part of the legs these pipes are from. All four of them look too identical and being confused is hard to avoid if you're not careful.
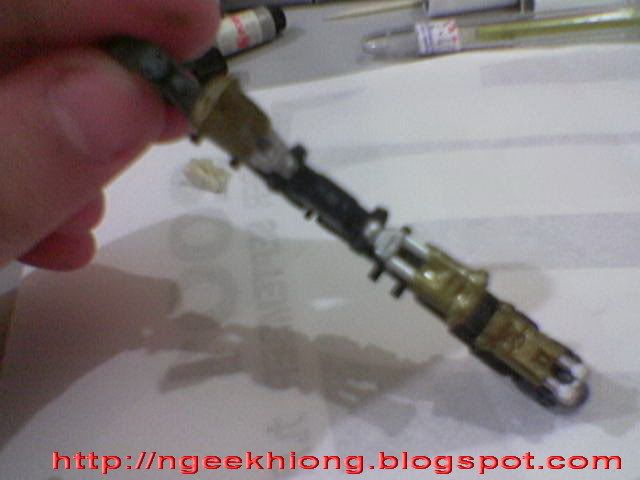
I painted the hosts in gold to make them look more outstanding. It's an option anyway. Wait until the paint is dried before pushing them back into their sockets on the inner frame.
There are a lot of lines and ornaments on the surface of the armor, and some of them are just too narrow for my pen tips to move in. Hellish -_-++
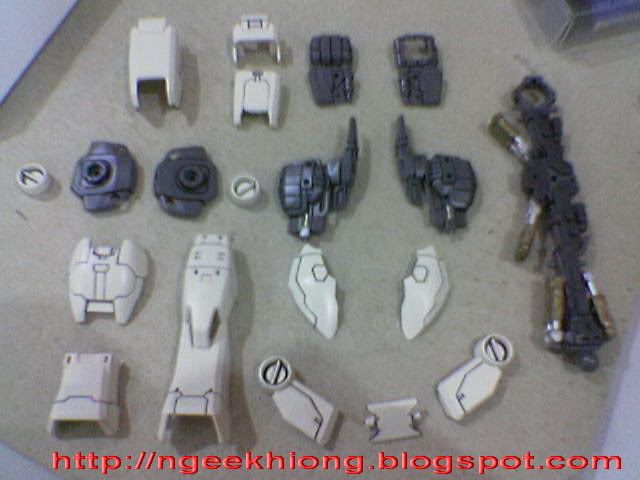
Here are the parts for the leg (polycaps and screws not shown). OK, now work on the other leg.
Wuhhuh~ (lazy grumbling XD)
A list the weapons (Some of the minor parts are not shown):
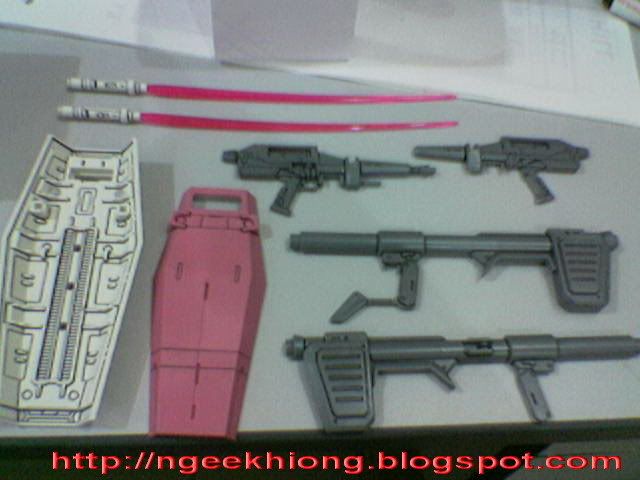
The weapons are all newly molded parts as compared to Ver. 1.5, a bit bigger, and feature a lot more details too. The Beam Javelin is not available anymore.
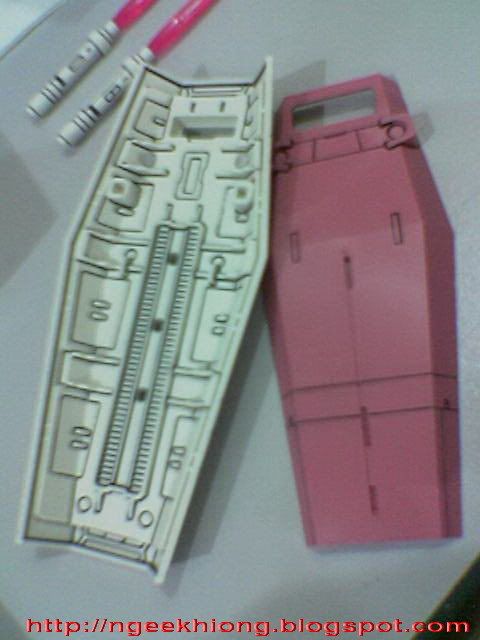
The rich details behind the shield are too precious to be missed.
The ultimate fun is painting the chain for the hammer (Actually I prefer calling it a flail, with an extremely long chain design).
I saw the silver paint used by Marvinryan on his MG Turn A, and Wow, I want that too! XD So this is how I did it:
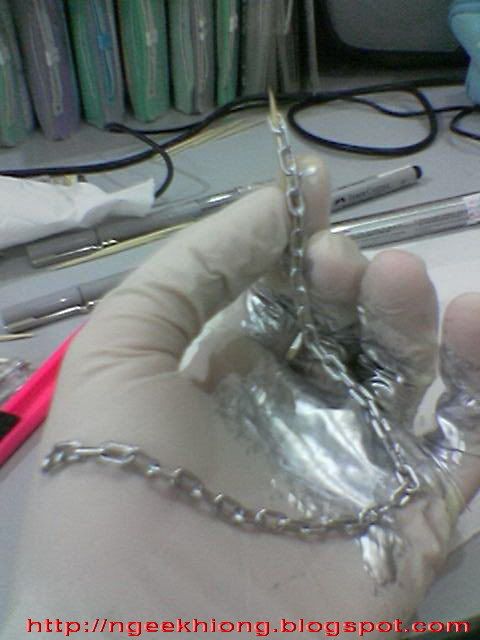
Using the same silver oil-based paint marker for the hydraulic pipes, I just swiped the chain back and forth many times on a gloved hand :-D
Wearing glove not only keeps the hand free from the paint (which is very hard to wash away), it also prevents fingerprints on the final work.
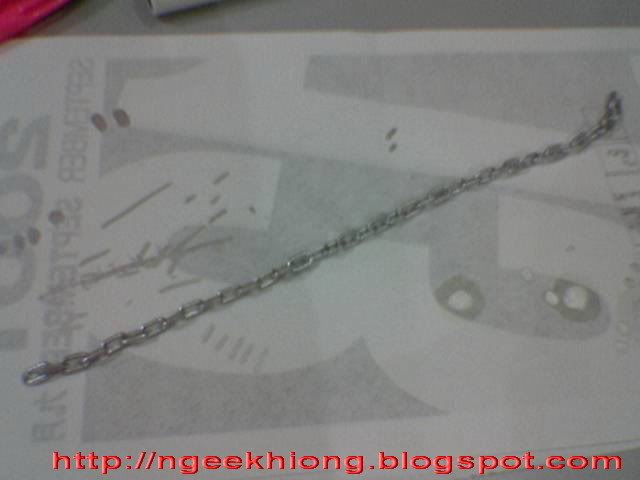
Done a few nights ago, I wasn't quite satisfied with the first version, so the next morning I applied another few layers to make sure all the rings are covered in silver.

What will the completed hammer looks like? I'm anticipating that too ^^
At the moment, there are other parts like another arm, leg, the body and the backpack are still 'under construction'. Maybe I should use the famous 'Slow Men At Work' sign when I'm working on my Gunpla next time. Anyway, I'll try to finish everything by next week.
MG Zaku II Ver. 2.0 is getting impatient as well ^o^