Wednesday, October 31, 2007

PLAMO Review 26: HGUC Hrairoo Part 4

Today I'll finish the reviews on Hrairoo with something which you'll not find in the construction manual ^^

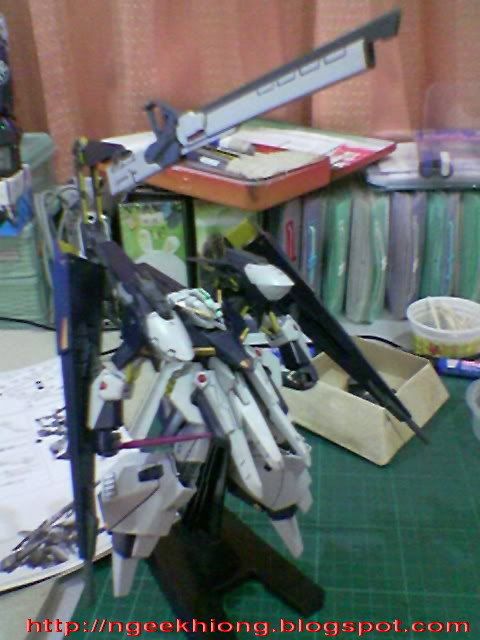
Before we talk about the conversion between Hrairoo and Gaplant, let me show you another nifty tricks for Hrairoo:


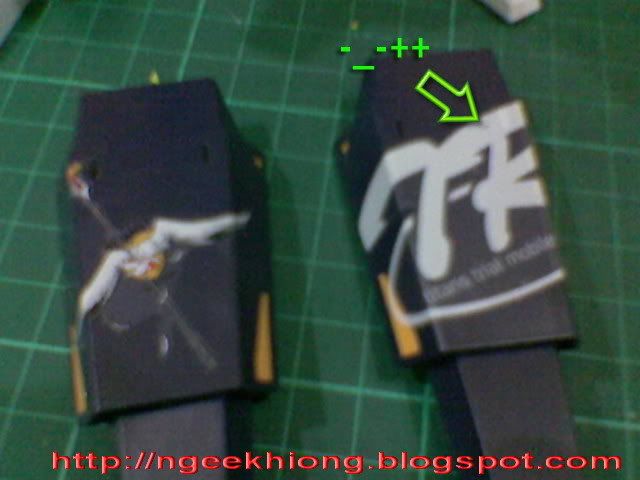
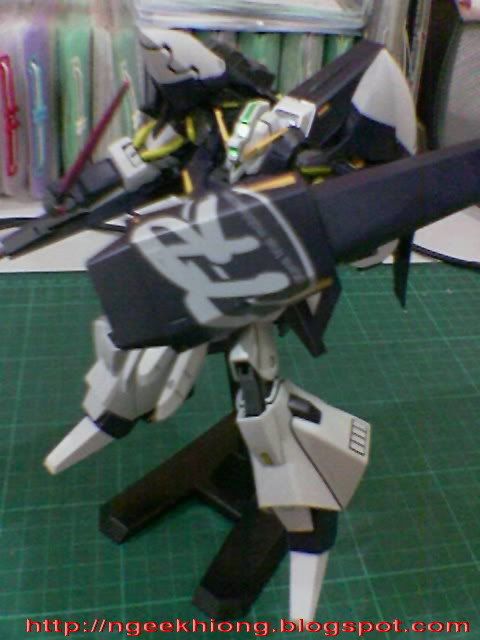
The parts for Hrairoo's Blade Rifle can be used on Advanced Hazel's rifle as well! Nice ^^

OK, now let's get to the main topic today. This is how you convert between Hrairoo and Gaplant:


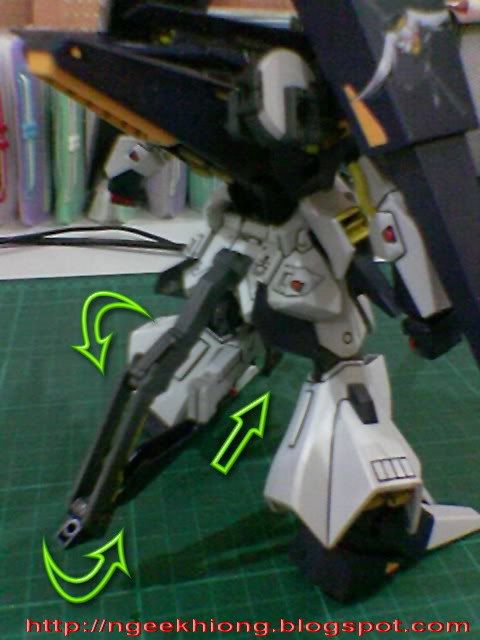
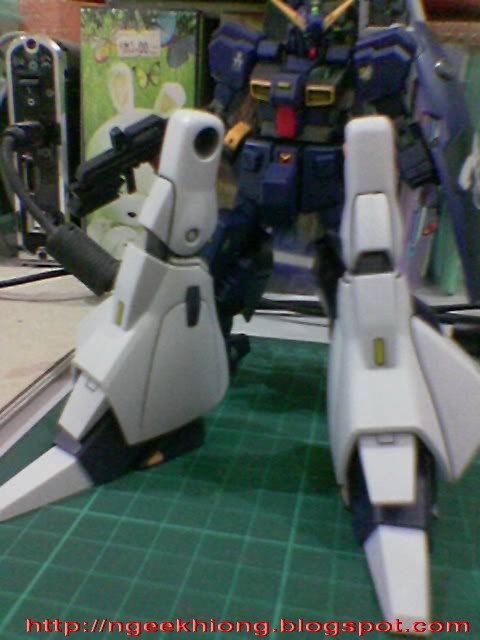
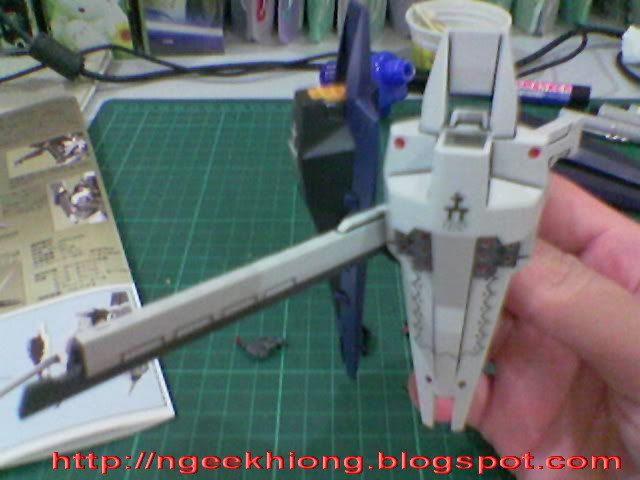
The huge shoulder attachments are easy to remove.


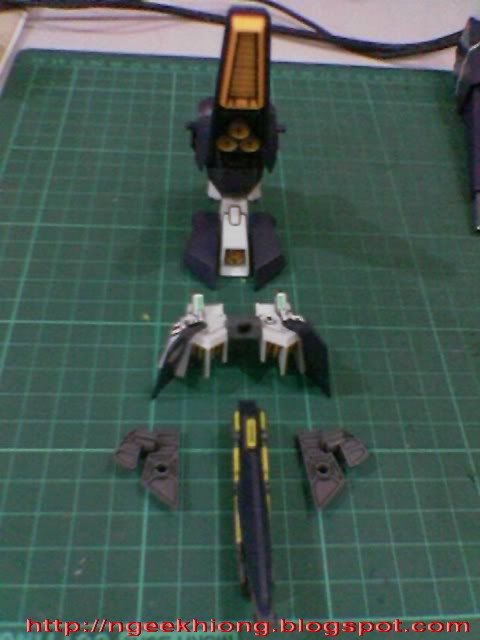
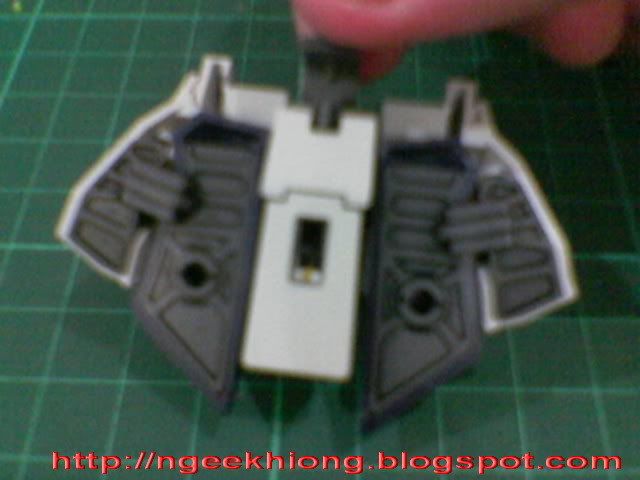
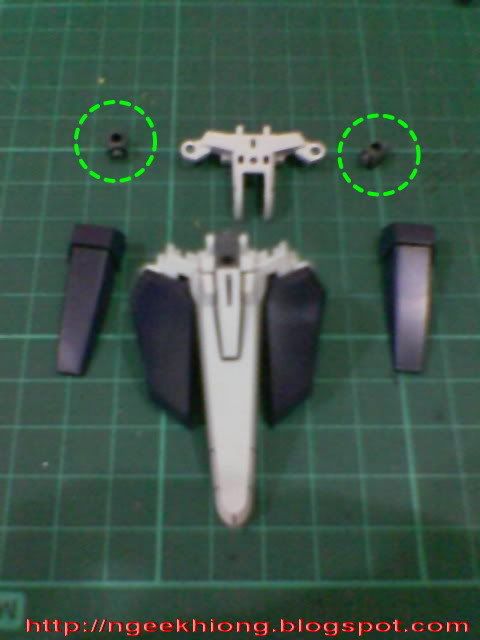
Detach the extra rear skirt armors, and the armors for Gaplant will be revealed.


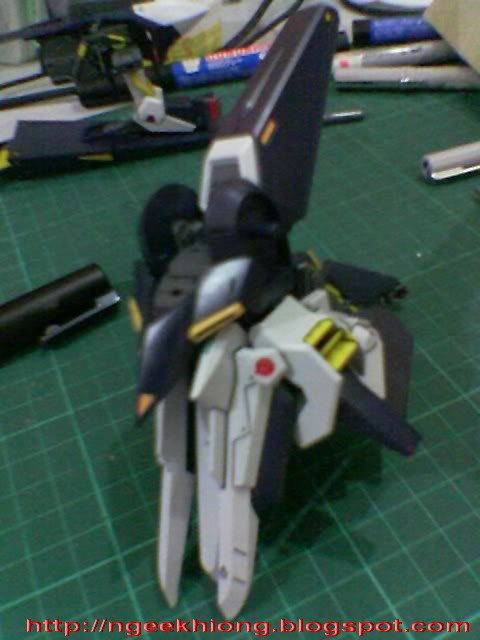
The front skirt armors are the hardest in the conversion process, as you can probably predict from the number of parts seen here.


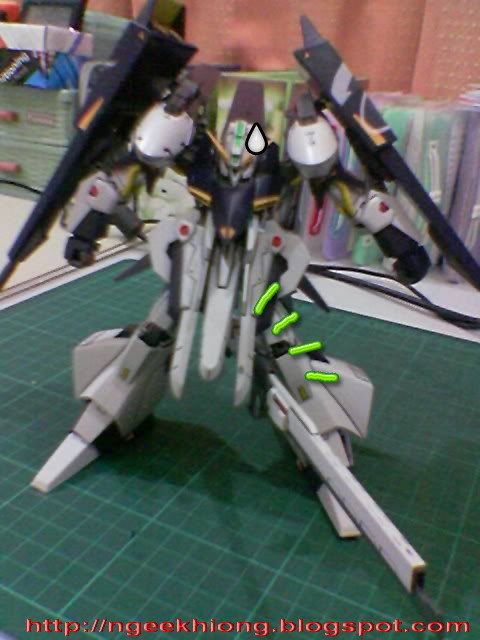
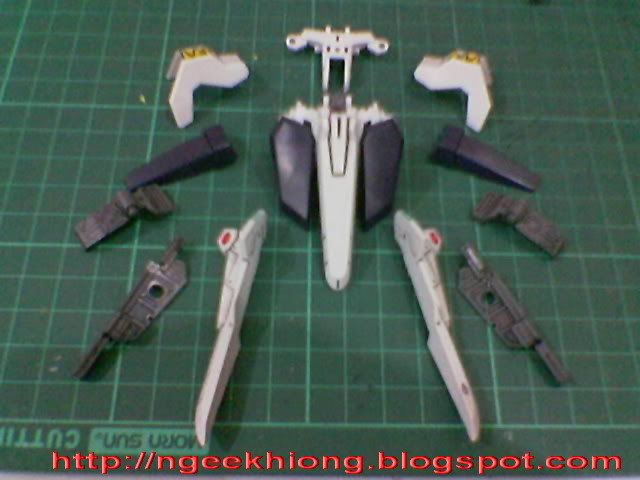
For the hip armors, the best case is to use another two PC(N)s from the polycap set of Hrairoo, which is unfortunately depleted for the assembly of Hrairoo.
Hrairoo uses polycap set PC-116, as seen in many of the 1/100 SEED and SEED Destiny models. If you have leftover polycaps after assembling Infinite Justice, or Legend, or even the older Aile Strike, you can get your extra PC(N)s. Too bad if you dumped all those excessive parts ^^;
Anyway, you can still use the parts from Hrairoo to attach the hip armors, but the points for mounting the extra armors of Hrairoo will be exposed.


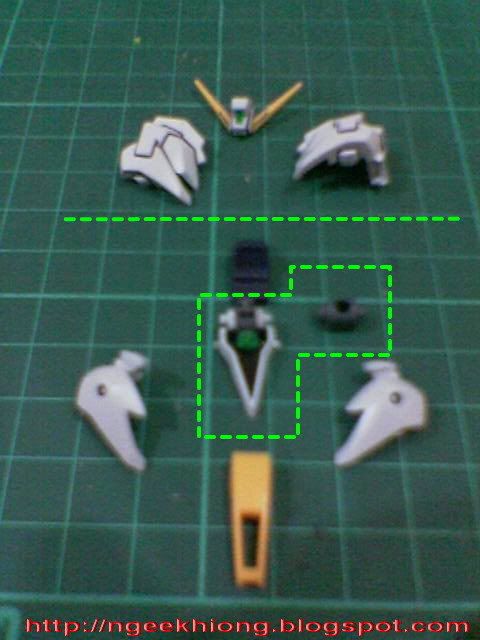
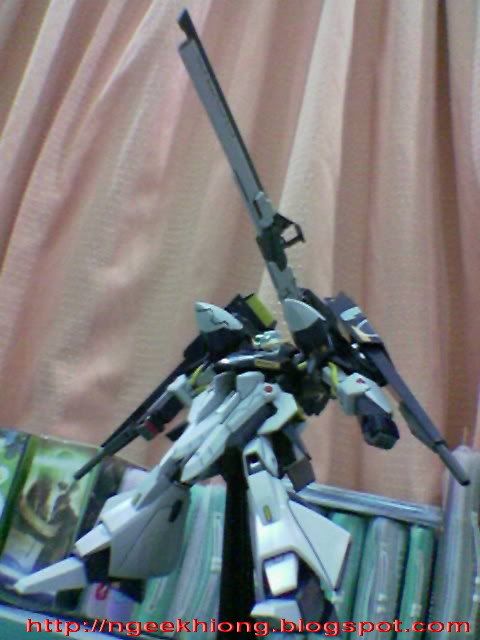
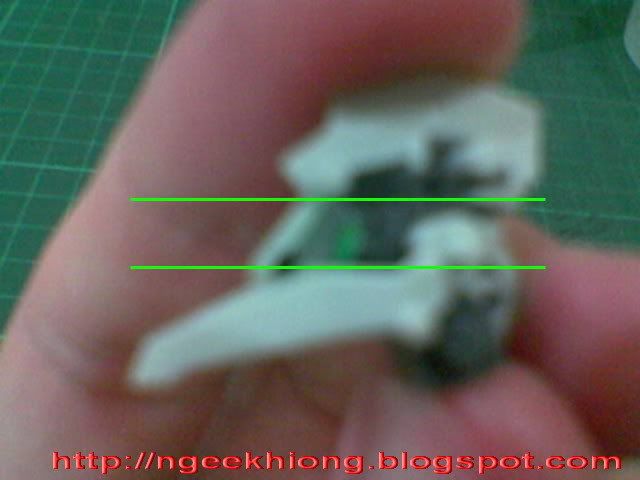
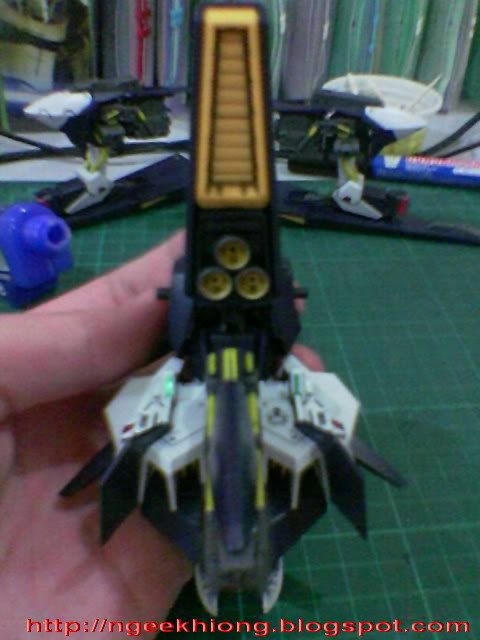
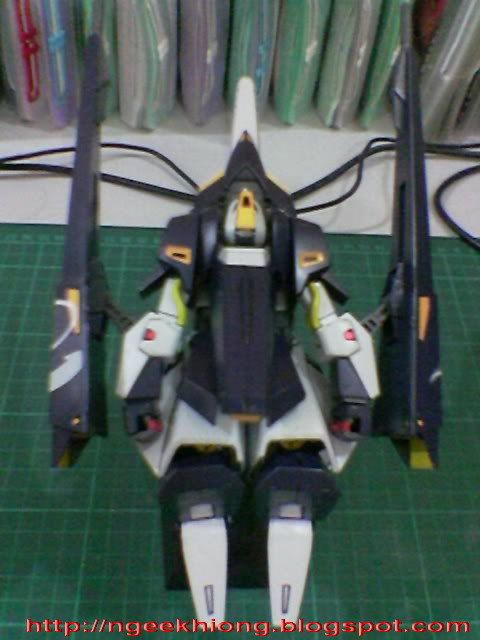
Converting the head. By using the helmet of Gaplant, the mono-eye can now be shown, and personally, I think it looks way better as well.


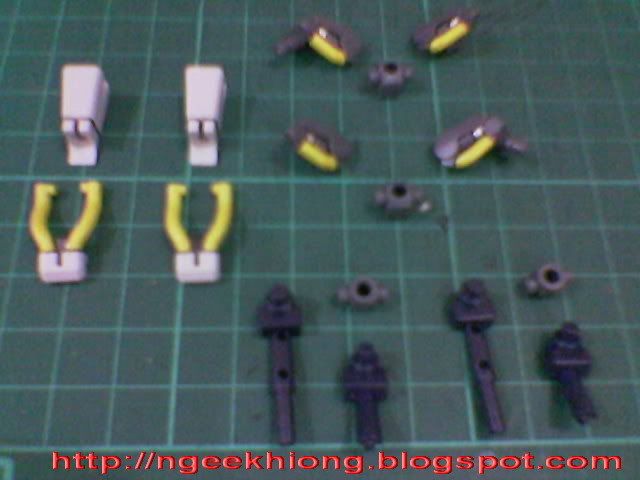
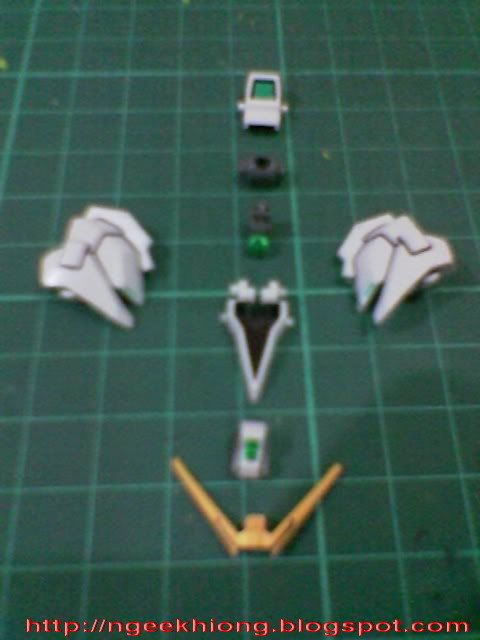
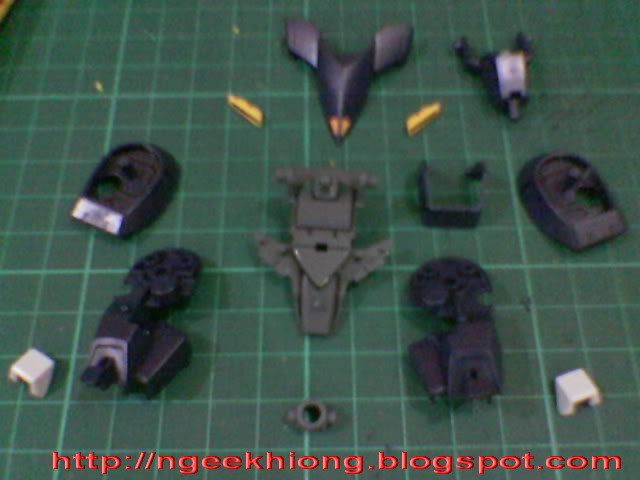
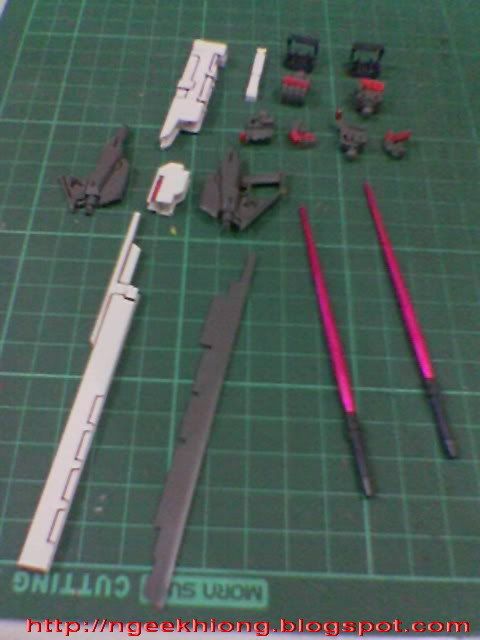
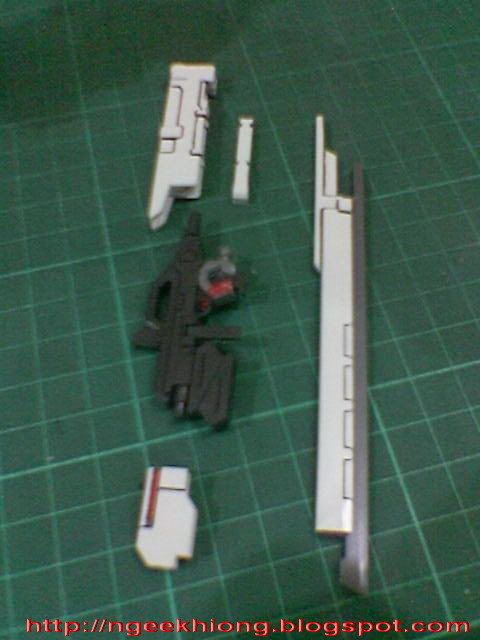
The extra components for Hrairoo excluding the head and rifle.
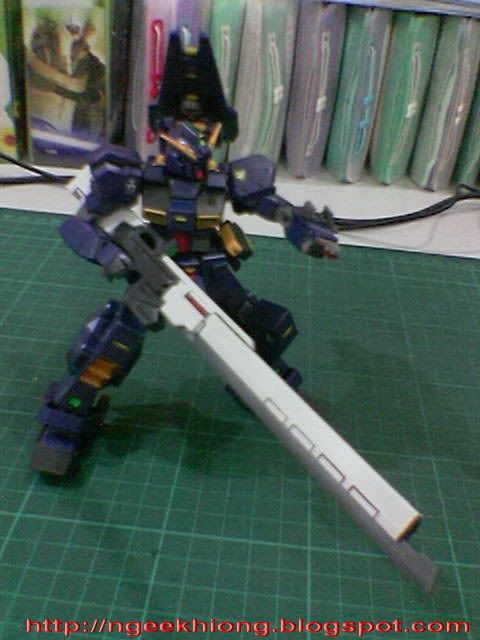
In MS Zeta, Gaplant does not use any hand held armament except his own beam sabers.


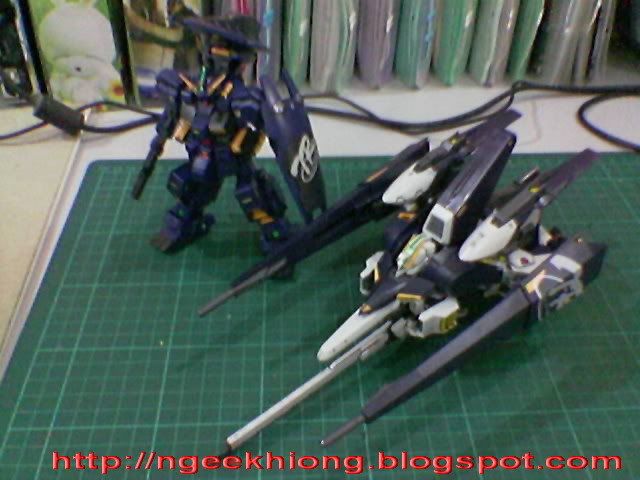
Which one looks nicer?

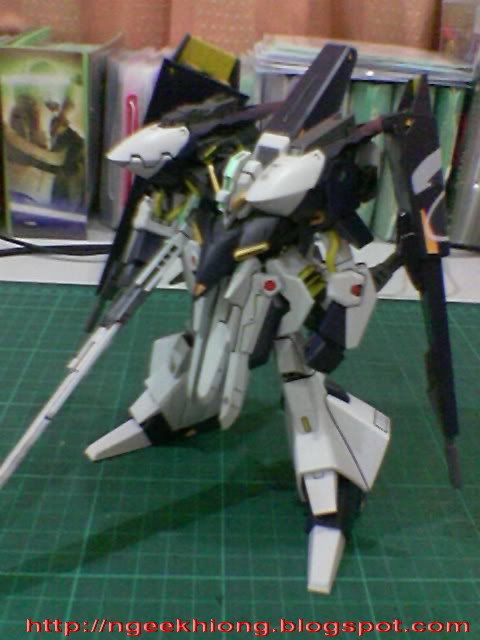
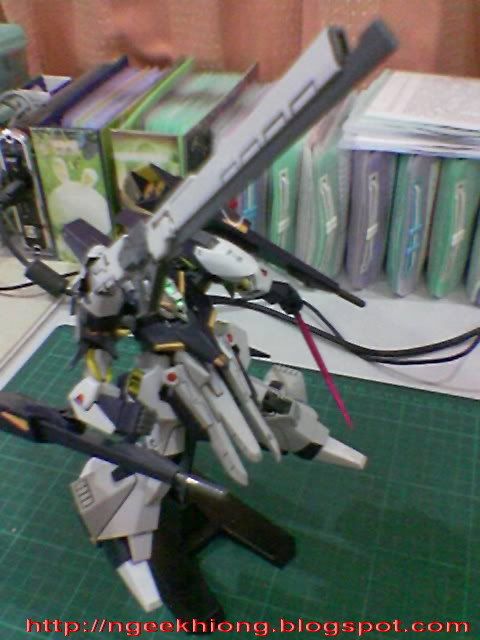
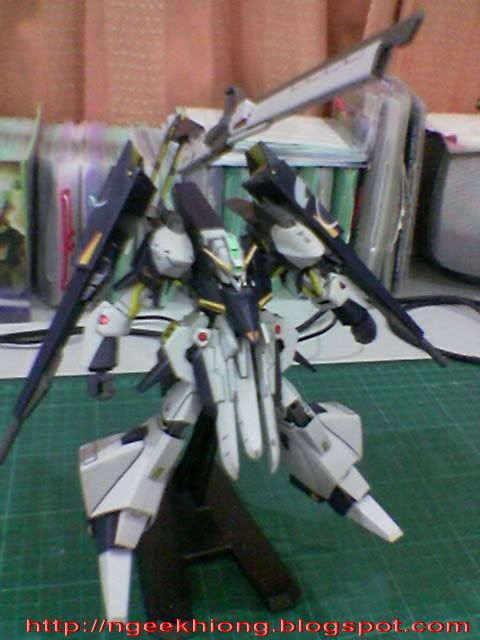
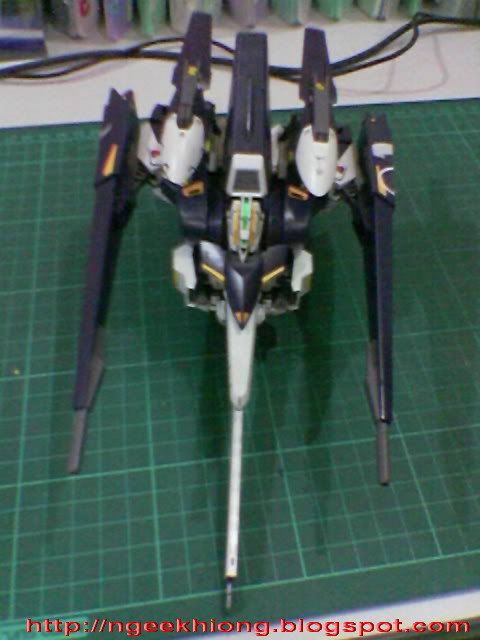
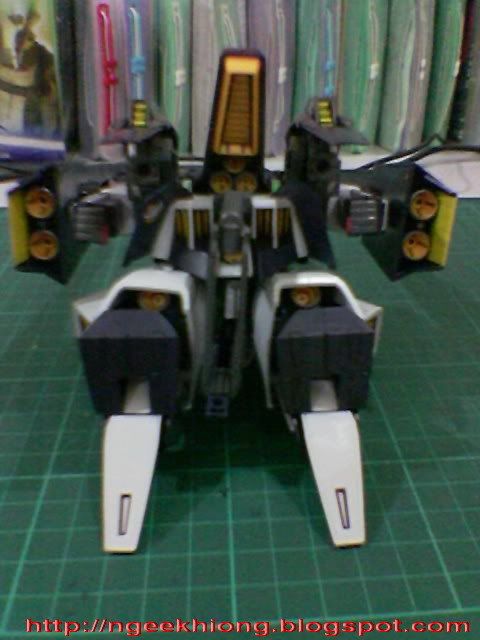
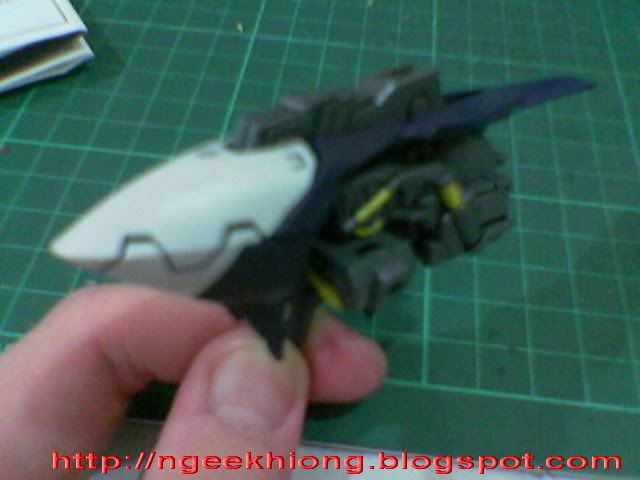
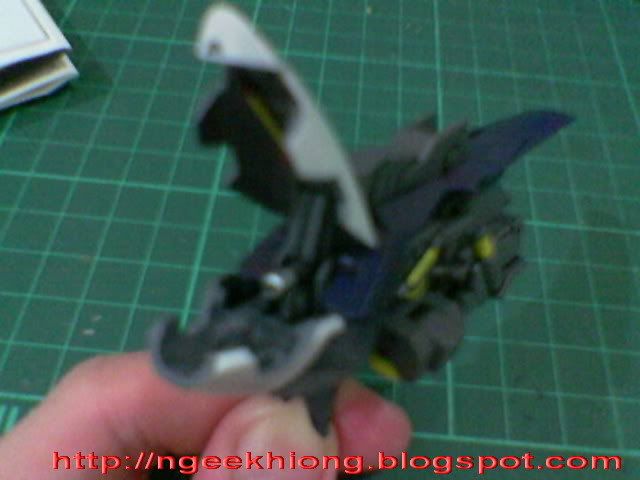
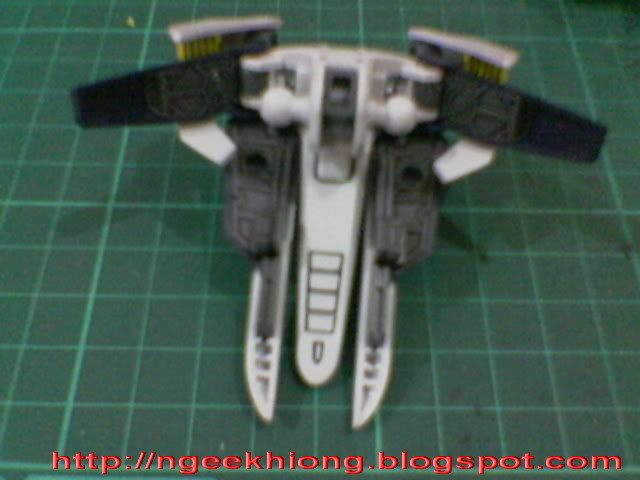
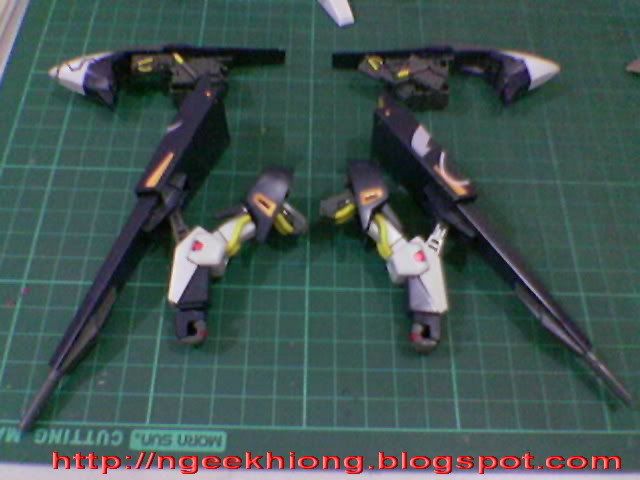
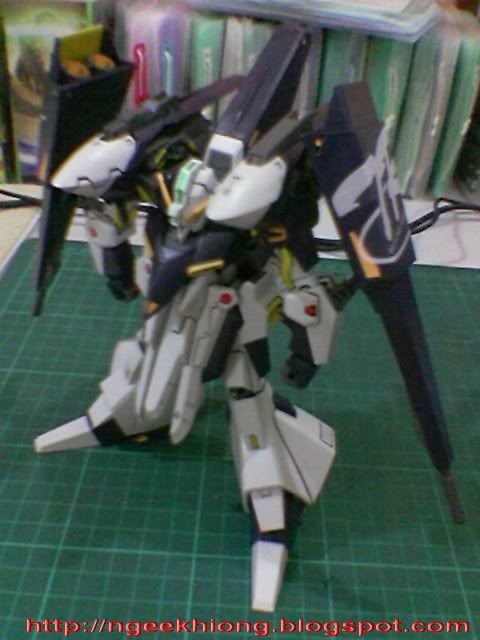
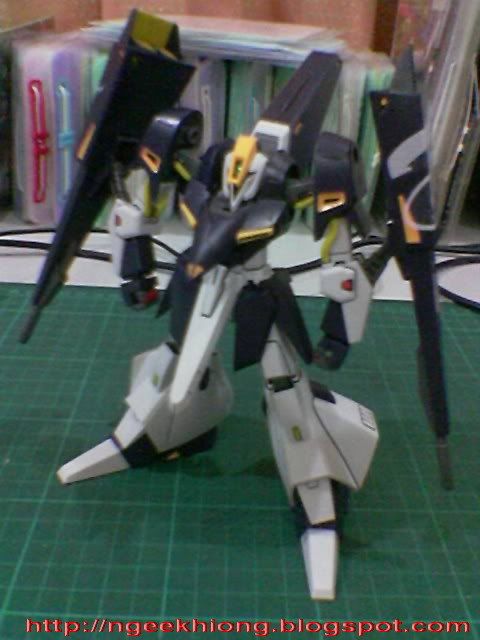
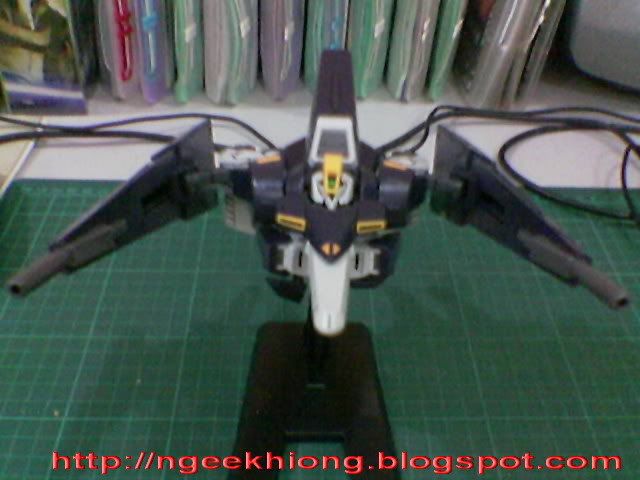
And now, let's have a look at Gaplant's MA transformation:


The only major difference between Hrairoo and Gaplant's tranformation is the head. While Hrairoo needs to swap parts for the V-fin; Gaplant's visor can be pulled down to protect its mono-eye.


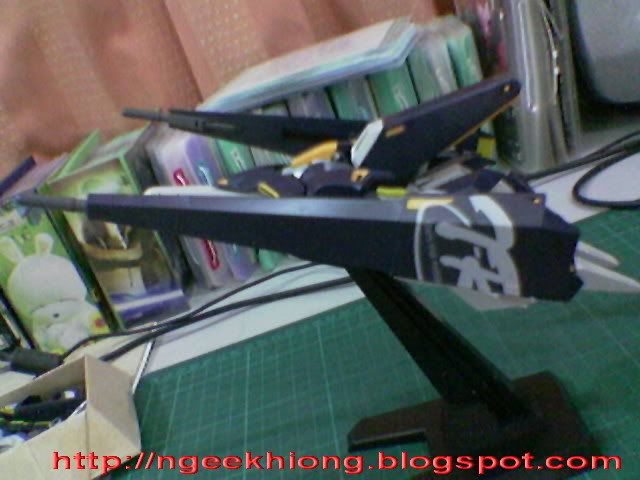
At the same time, I really feel that the transformation for Gaplant is way less cumbersome as compared to Hrairoo.

Also, you can visit the complete gallery of Hrairoo in his Gallery.

Hrairoo is also the one Gunpla in my collection to feature four separate reviews:
Part 1: Introduction & pre-assembly work
Part 2: Component Review
Part 3: Completed model & MA transformation
Part 4: You're reading it now ^^
So, do you think this is useful to you? Please provide feedback for further improvement. Thanks :)

Now that my Hrairoo is done. I'm thinking of taking a break from this little October Gunpla frenzy. After MG Strike Noir and this one, I want to return to the usual reporting of Gundam and mecha coolness from the Net. Also, I'll be spending some time hunting for new Gunpla. Hehe ^^ So, please pardon my indulgence on these stuff after Hrairoo.

Tuesday, October 30, 2007

PLAMO Review 26: HGUC Hrairoo Part 3

Today's review is on the completed Hrairoo, including its MA mode.

The 'star' this time is the set of huge clear stickers on both sides of the shoulder cannons.


But the size of the stickers proved to be quite troublesome. Very risky to paste onto the targeted spot, and there's a big possibility that the stickers will catch air bubble beneath them.
For mine, I scratched off a bit of the sticker when I tried to pushed out the air bubble. Wuhhuh~


Since Gaplant doesn't feature a conventional MS design in the first place, all the extra equipments mounted into Hrairoo doesn't seem too awkward at all. What do you think?


The waist can't turn, while the head struggles to turn in a very limited angle, being squeezed between the shoulders. In terms of articulation, Hrairoo is no way near Advanced Hazel or Zudah, another previous HGUC I did.


The picture on the left is me trying to be creative with the shoulder cannon/shield ^^
The blade rifle can be mounted in the 'shark mouth' on right shoulder. Quite a unique feature, but after a while, the weight will drag the whole shoulder down.


Although the tail binder is located on the rear skirt armor, but in MS mode, the binder must be detached, and then mount behind the shoulders if you want to pose it grabbing the rifle.
Also, unlike the supportive arm of Advanced Hazel, the one of Hrairoo can only grab the rifle.


"What long cannon you have there~" XD
I often wondered why the tail binder can't be used when it's on the rear skirt armor, but after this attempt, I think I know why now XD

And now I would like to talk about the MA transformation of Hrairoo. Let me be frank, this has got to be the most troublesome transformation of all my models XD It's a lot harder than I thought, and it's a hell lot harder than my big brother ^^

The transformation sequences are very much from the original Gaplant, but all the attachments really make the process cumbersome. For example, the shoulder cannons keep getting in the way when you are adjusting the legs; while the skirt armor blocks the adjustment on the tail binder and when you're mounting the MA onto the display stand. Plus, all the parts of the model give it a significant weight, so it becomes a bit tiring holding it for the transformation process. Not to mention there's a bit of panel lines rubbed off by my fingerprints already ^^;


On the display stand, the unbalanced weight skewed to the back of Hrairoo help to pose the MA in a launching position. An unexpected advantage :-)


The feet and the blade rifle enable Hrairoo to sit quite firmly on the ground. Nice~


The huge size difference between Hrairoo and Advanced Hazel.

For more pictures and the step-by-step transformation sequences of Hrairoo, please visit its Gallery.

Monday, October 29, 2007

PLAMO Review 26: HGUC Hrairoo Part 2

Just completed my Hrairoo, and Part 2 of the review on this model be on its different components.

The arm unit of Hrairoo is quite complex and has many parts. These are just the parts for the upper arm.


These are the parts for the shoulder unit, particularly the right shoulder with the 'shark mouth' equipment.


And this is the 'shark mouth' XD Only the right shoulder is designed with such equipment, and it's used to mount the long blade rifle.


With the interior of the 'shark mouth' colored in grey, it sure looks more natural as being the mechanical part of the shoulder. I also painted the cannon-like nozzle in silver. I'm not sure if that's actually a hidden weapon of Hrairoo or something.


Here are the completed arms, with the beam cannons mounted. Looks cool, but the cannons sure decrease the articulation and flexibility of the arms, even though their joints can be moved in many angles.


The leg unit is probably the easiest to assemble among all the components. Also, the size definitely wins over other typical HGUC Gunplas, such as Advanced Hazel at the back.
Then again, as the parts are big, the splits between them show up more clearly as well. I applied quite some glue to patch the parts up.


Parts for the head. Surprisingly, the mono-eye is not molded in clear plastic as seen in most other Zeon Gunpla. Painting clear green on grey will be a challenge (not for me, since I just use the foil sticker :-) But then again, that might not be necessary at all...


... since the eye will be concealed within the helmet anyway. As shown by the green line, the only thing the eye can see is just the interior of the head.


(Top down) Front and rear skirt armor, each containing more parts than the leg o_0


These parts are for the tail of Hrairoo, which doubles as his 'third arm'. I painted the pipes on the folding arms in yellow, for the sack of consistency as the other pipes on Hrairoo are also in yellow. Now that I look at it, maybe silver would have been a better color?


Details inside the rear skirt armor. I was surprised at first for the 'generosity' of Bandai for giving parts for the details of these armor, but when I assembled them, I realized they actually served another purpose...


...these extra parts are actually intended to hold the new armor pieces for Hrairoo. Underneath them are the 'old armors' from the original Gaplant. So when the new ones are removed, you can convert Hrairoo right back to its predecessor.
Can't wait to try that out after this ^^


Parts for the body, which I believe to be exactly the same as the original Gaplant.


The weapons for Hrairoo include the long blade gun, and two beam sabers.
I'm not very happy with the design of the hand. The two sets of hand share the same base. So every time you want to switch between the hands, you need to detach and reattach the base as well.
Why can't Bandai just throw in an extra pair of base for the fans' convenience? X_X


As indicated by the manual, an extra part is included so that the long blade gun can mount two booster shields from Hazel Custom and Advanced Hazel to form a 'defensive rifle' (?). Actually you just need one Advanced Hazel for all the shields, since there are two in that model alone.


The completed body unit. The huge waist armor sure looks a bit too bulky for the body to handle XD


The completed Hrairoo, without the stickers on both his shoulder cannons yet.

You can see more pictures of Hrairoo in his Gallery (not complete yet).

I'm also planning Part 3, which is about the completed Hrairoo, along with the review on its MA mode. There'll also be Part 4, which is about converting it to Gaplant and his MA mode as well. Just stay tuned!