
To start off with, I must say that it's unusual for modelers to start the whole process with panel lining and some painting. This is purely for people who are not air-brushing their models, like me, who are still saving money for my first airbrush and compressor. So, if one is not using airbrush, the color of the final assembled model will be straight from the plastic parts. However, you can definitely improve its appearance and final look, with a bit of effort and patience.
One of the easiest 'upgrading' methods is applying silver paint to parts of your model. Parts that can be (or should be in my perspective) painted in silver include:

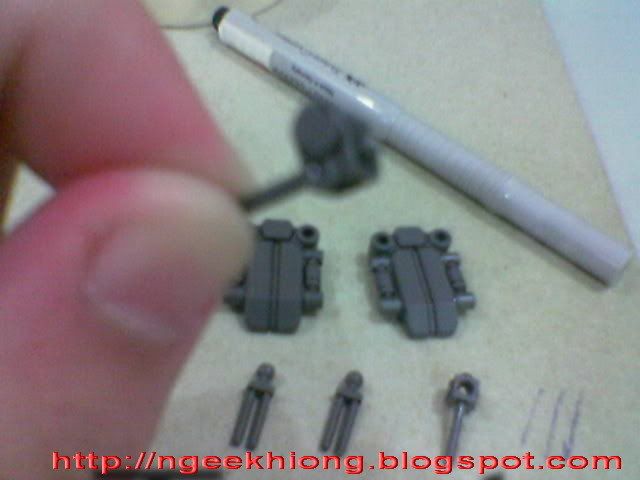
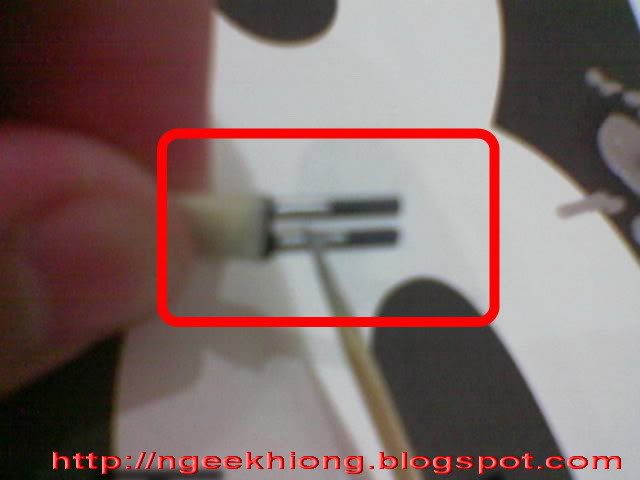
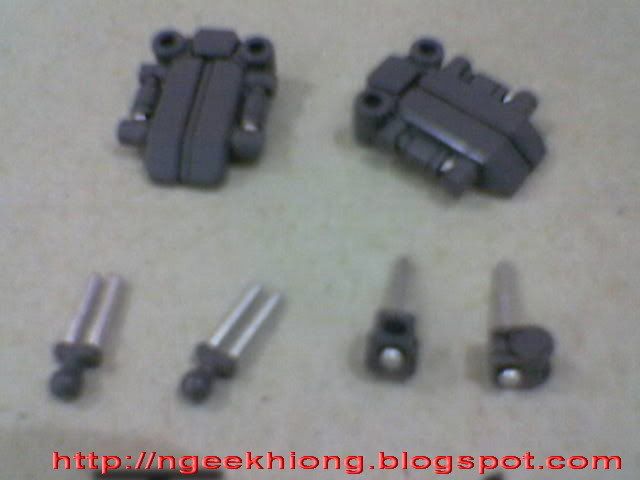
Hydraulic pipes for the interior of the legs and arms

Hydraulic pipes for the interior of the 'shoes' - these might seem insignificant to many, since they will be embedded into armors and the painted parts may never be seen directly. But a closer look onto the model will reveal these parts, making your friends to go 'Wow!' for a while :)
Here's my way of getting the job done:
First of all, cut the parts out from the trees, clear off the gates, and sand the parts if you will.

Oops, almost forgot to introduce the tools I used for the little paint job here: paper tape (masking tape is optional), oil-based paint markers, silver and gold (I used these frequently in art classes in secondary school, didn't realize that they will be such a big help for Gunpla as well), marker for panel lining, and some good old toothpicks.

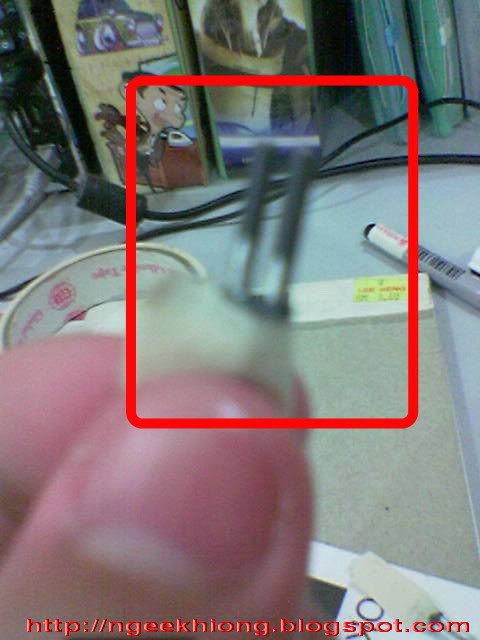
Start by panel lining the parts first. Panel lining defines the border between what needs to be in silver and what need not.
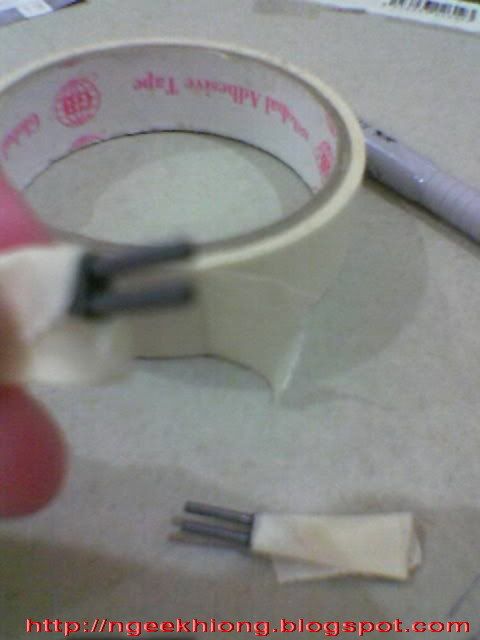
Some parts are very hard to hold, the solution is easy: just use the paper tape and wrap around the area which is not to be painted, and you'll get an instant handle.
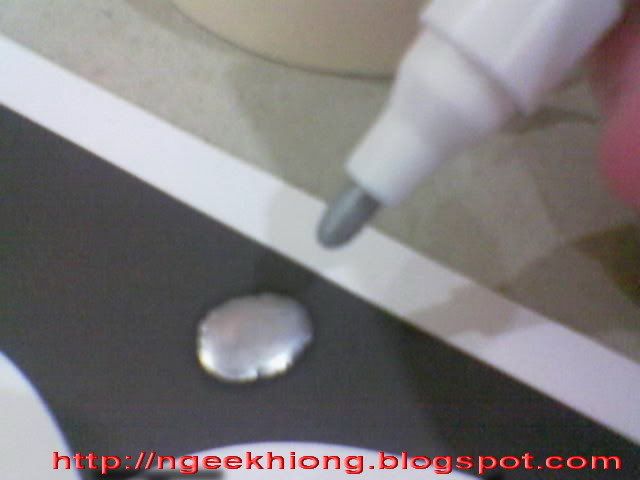
Next, push some paint out of the paint marker. These oil-based markers are quick to dry, so if you have disposable saucers as seen in most restaurant and food centers, those would be the best container to hold the paint.
If you don't have any of those, just cut out a piece of plastic from the packaging of your model and use that as a base. Make use of everything available in that box of Gunpla eh? ;-)
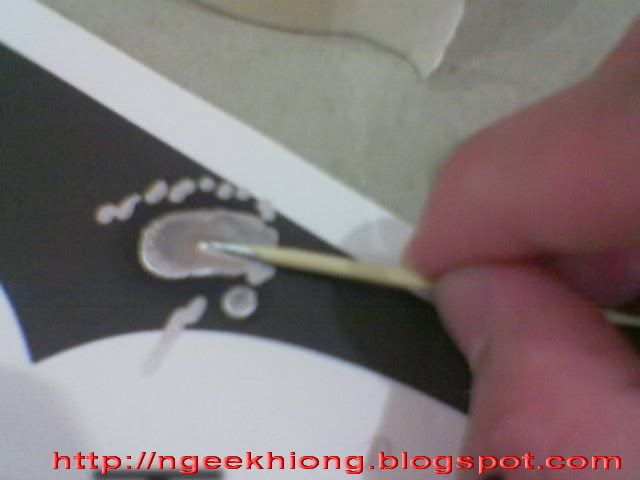
Then, by using the tip of the toothpick, 'scoop' up some silver paint from the little 'oasis' :-D and you're ready to go.
For the double hydraulic pipes, just paint the parts closest to the panel lines drew just now, and the area between the pipes. The rest of the area are wider and can be reached by the huge tips of the paint market.
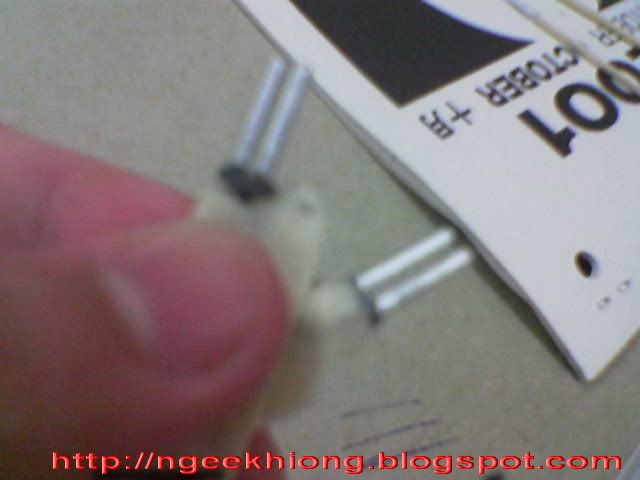
Something right this is good enough. The next step is to paint the rest with the paint marker itself.
And here are the completed set of pipes. Shiny~
If you do happen to paint over the edge (which is highly impossible to avoid), use your design knife to scratch the extra paint away, redraw the panel lines as well.
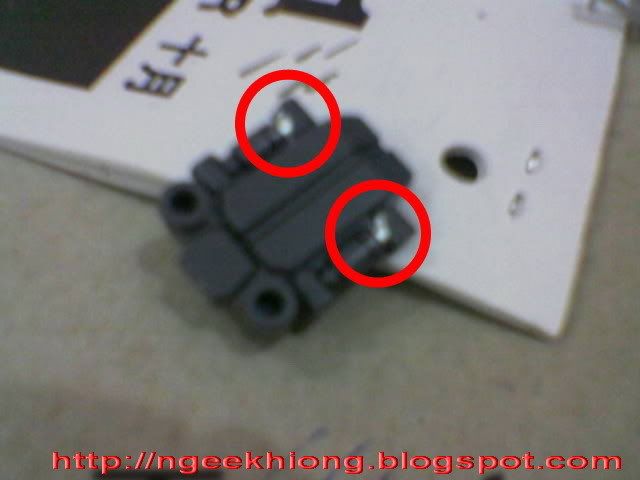
Here are the final result ^_^
And that's my method of detailing my model, no airbrushing, no masking tape, not even Gundam markers are needed for this one. Please feel free to try it out on your own models, but do it at your own risk. What's work well for me may not be so for you. So please don't email me asking compensation of a new model if you do run into trouble :-D But I'll be glad to answer any question regarding this method of mine.


